Despite VMware's move to push for vCenter Server Appliance (vCSA) instead of its Windows-based twin, the latter is still an integral part of vSphere 6.5. In this short how - to blog, I'm going to guide you through the steps needed to install the latest vCenter incarnation. To keep things simple, I was searching for an embedded Platform Services Controller and a PostgreSQL database solution. This system is going to suffice for most SMBs out there. Broadly speaking, most SMB VMware-based environments will come under the Tiny or Limited categories of VMware literature.
The table shows the different types of environments, their respective capability in terms of the number of ESXi hosts and VMs deployed, and the computing resources that need to be allocated to vCenter Server.
| Type | ESXi Hosts | VMs | VC RAM (GB) | VC CPUs |
| Tiny | 10 | 100 | 10 | 2 |
| Small | 100 | 1000 | 16 | 4 |
| Medium | 400 | 4000 | 24 | 8 |
| Large | 1000 | 10000 | 32 | 16 |
| X-Large | 2000 | 35,0000 | 48 | 24 |
Note: The best supported version of OS for Windows 6.5 vCenter server is Windows Server 2008 SP2 or better. As with previous versions, installing vCenter on the Active Directory Domain Controller is NOT supported.
A complete list of specifications can be found on the VMware vSphere 6.5 documentation section.
Moving on with the setup
Phase 1:
Prepare a VM server or a physical server. The requirements should reflect the environment that you intend to handle. Remember to assign at least 10 GB of RAM, 2 CPUs and 17 GB of disk space over and above what is needed for Windows OS and other installed software. Do keep in mind that in time, the vCenter database will grow in size, so factor in this as well as in the allocation of disk space.
Phase 2:
Decide on the hostname of the VCenter (e.g. vcent65win). Create the corresponding A and PTR records on the DNS server and make sure the records are fixed correctly.

Phase 3:
Install Windows Server as you would normally have done. Apply all pending updates and patches after installation.
Phase 4:
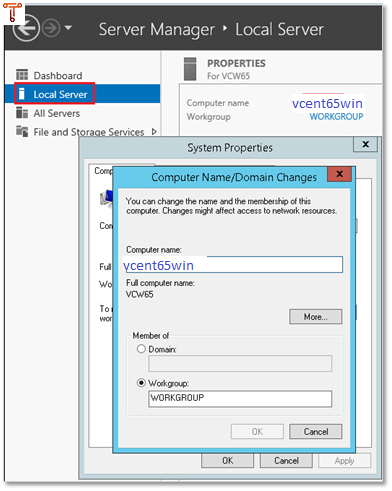
Make sure the Windows computer name matches the hostname of the vCenter, i.e. vcent65win. Reboot your server.
Phase 5:
Download the latest ISO for vCenter Server 6.5 from my.vmware.com.
Phase 6:
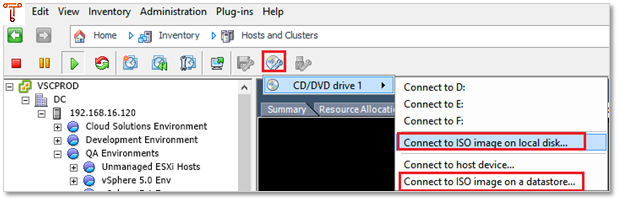
While deploying vCenter to a VM, the ISO image can be loaded as a DVD drive directly from a data store or from a local disk. If a physical system is used instead, you can copy the ISO image to a folder on the Windows server and then attach it as a drive from the Operating System itself; right-click on the file and mount it!
Phase 7:
Login as a Windows Administrator
Phase 8:
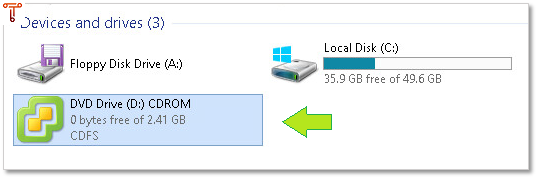
Double-click the DVD drive you've just attached. This will launch the VMware VCenter Installer.
Phase 9:
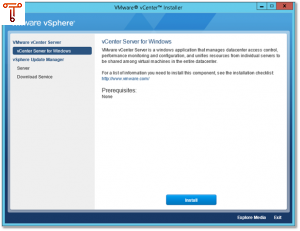
From here on, the installer will take you through a series of screens and options, most of which are self-explanatory.
Press Install to launch the installation wizard.
To proceed, click Next.

Press the EULA Agreement box at the bottom and press Next.
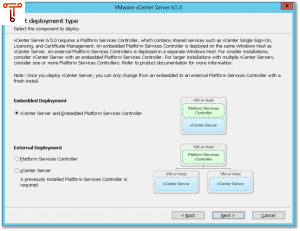
Select Embedded Deployment from the PSC Options panel.
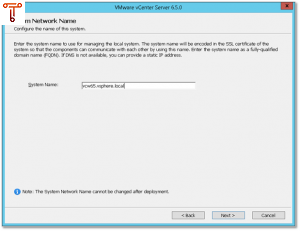
Enter the full qualified name (FQDN) for the vCenter server. This must match the DNS A record that has been created. Press Next, please.
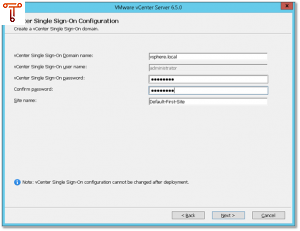
Enter the password for the administrator@vsphere.local account. Leave all the rest as default. Click Next up.
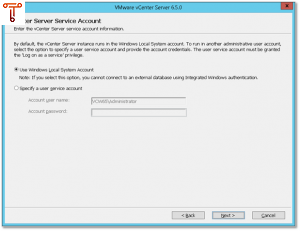
Since we're using the embedded database, the Windows Local System account is just fine. Press Next, please.
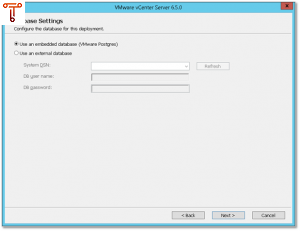
Choose the embedded database option and press Next.
Keep the default port list as it is and click Next.
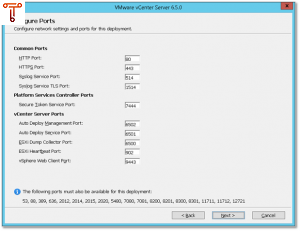
Note: If you are planning or have already installed additional software that performs network port binding, make sure there are no port conflicts. As a rule of thumb, you should avoid installing anything else unless it is absolutely necessary
Add the VCenter installation folder. You may either stick to the default settings or add your own settings. Click Next up.

Note : For live servers, I personally prefer a dedicated disk for installation, more so if I'm virtualizing a vCenter server.
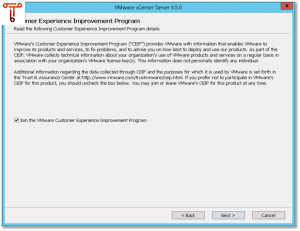
Here you can choose to join the CEIP. Click Next up.
And finally, click Install to start the installation process.
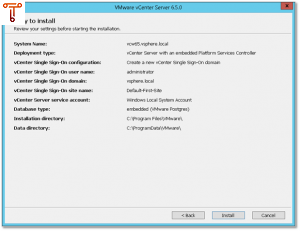
Installation progress ... it might take a while
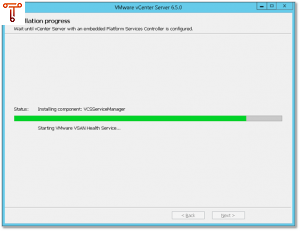
Once the installation is finished, you will be presented with this screen.

Installing vCenter Server 6.5 for Windows is quite straightforward provided you prepare the groundwork first. Compared to earlier models, very little has changed, except that the vCenter is now a little more resource hungry. The thick (C #) vSphere client is not officially supported. This means that getting used to the vSphere Web client (or the HTML5 client) is no longer an option.

